About Photomatix
Photomatix is an excellent piece of software that allows clients to take three JPEGs of different exposures using Auto-Bracketing or one RAW picture and turn it into something outstanding. High Dynamic Range is an amazing technique used by photographers, graphic designers, and 3D renderers. The output is aimed at being more similar to how the human eye sees something if used correctly, otherwise the results are unrealistic yet interesting. Seeings how I'm an unemployed student, I can't afford the full version therefore my only option is to use the demo version. I don't condone stealing or cracking commercial software to unlock the full versions in order to use something. This tutorial is intended to make people think harder in more constructive ways and is not to be abused. Simply put, use this if you want to play around with the software but if you like it go buy the software!


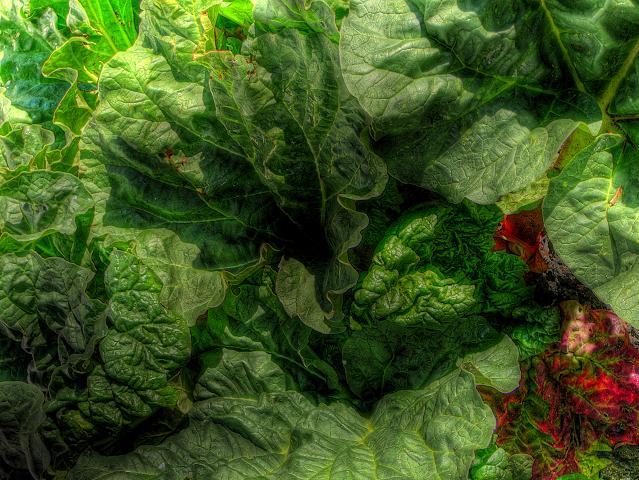
As you can see above, the watermarks are very displeasing and takes alot away from the subject itself. Following the tutorial below will help you get rid of these pesky watermarks to help bring out your images the way they were meant to be.
If you haven't downloaded Photomatix already, you can download it here. You'll also need an advanced image editor such as PhotoShop or Gimp to erase the watermarks using layered images.
Incase you don't have any shots that are at different exposures, you can use the same ones I'm using throughout this tutorial. Right click each of these links.
#1
#2
#3
The idea
After using the demo version of this software I've learned that any image over 640x480 is watermarked with the "Photomatix" text in a strategic pattern after tone mapping to ward off those who haven't paid the $200 for the entire software. So what's the solution? One could take a 5MP (2560x1920) picture and squish it down to VGA (640x480) size and be set. What are the obvious disadvantages to this? Less detail, quality, and your picture is smaller! My original idea would be to get into the source code of the software and alter the switch that says "Hey, your picture is bigger than 640x480 so we're throwing the watermark on here." to something outrageous such as "Hey your picture is smaller than 1,000,000x1,000,000 so we won't watermark it this time!".
Realizing that's out of my league and unethical, I thought of another trick. If you notice, no matter portrait or landscape, the pictures are always watermarked in a specific pattern. This is where my idea comes into play.
If you're having problems watching
Feel free to download these videos directly instead of streaming through your browser. Right click each link and select "Save Link As" or "Save Target As". If you're using a Mac, try VLC Media Player. It'll play anything you throw at it.
Create the HDR image.
Rotate the image.
Remove the watermarks.
Create an HDR Image
When you first load Photomatix click "Continue Trial" and skip the basic Help prompt after that. Go to File > Open and load up the three images you want to use. Next you want to click HDR > Generate or CTRL+G to generate the HDR. Use the images you have loaded and click okay, always select "Align source images" to make sure your images are lined. Leave the "Assume standard tone curve" checked for now, you can fool with this more later. Click OK and in a few seconds you should see an ugly picture, in the next step we'll fix that. Once you have your bright and ugly picture click HDR > Tone Mapping or CTRL+T. From here you can see this is where the magic happens. Feel free to play with the settings to get the most of your pictures. (Be careful with saturation, too much will burn out bright colors!) Once you have your image the way you like it, click OK and wait a minute or two for it to render. Tada! You have your HDR image!
Rotate/Flip (The real trick)
Now that you know how to create an image using Photomatix you can take one more step into getting rid of that nasty watermark. The basis of this observes the watermarks pattern. As you can see on the image you've created earlier there is a strategic pattern of watermarks located at the top, at the right, and at the bottom. The trick here is duplicating the three images you used before. Duplicate the same three images or edit them directly, once you've copied them load each one into Microsoft Paint and select Image > Flip/Rotate or CTRL+R and rotate all three of the images 90 degrees clockwise. Save each one so you know these are the versions that are turned. Once you've finished this, make another set of copied files of your original three images. Load each of these newly copied pictures up in Microsoft Paint and select Image > Flip Rotate or CTRL+R and select "Flip Horizontal". Do this again for each of your images. You should have three sets of images, three that are original, three that are rotated 90 degrees, and three that are flipped horizontal/mirrored. If you're still with me, you're done with the monotonous part!
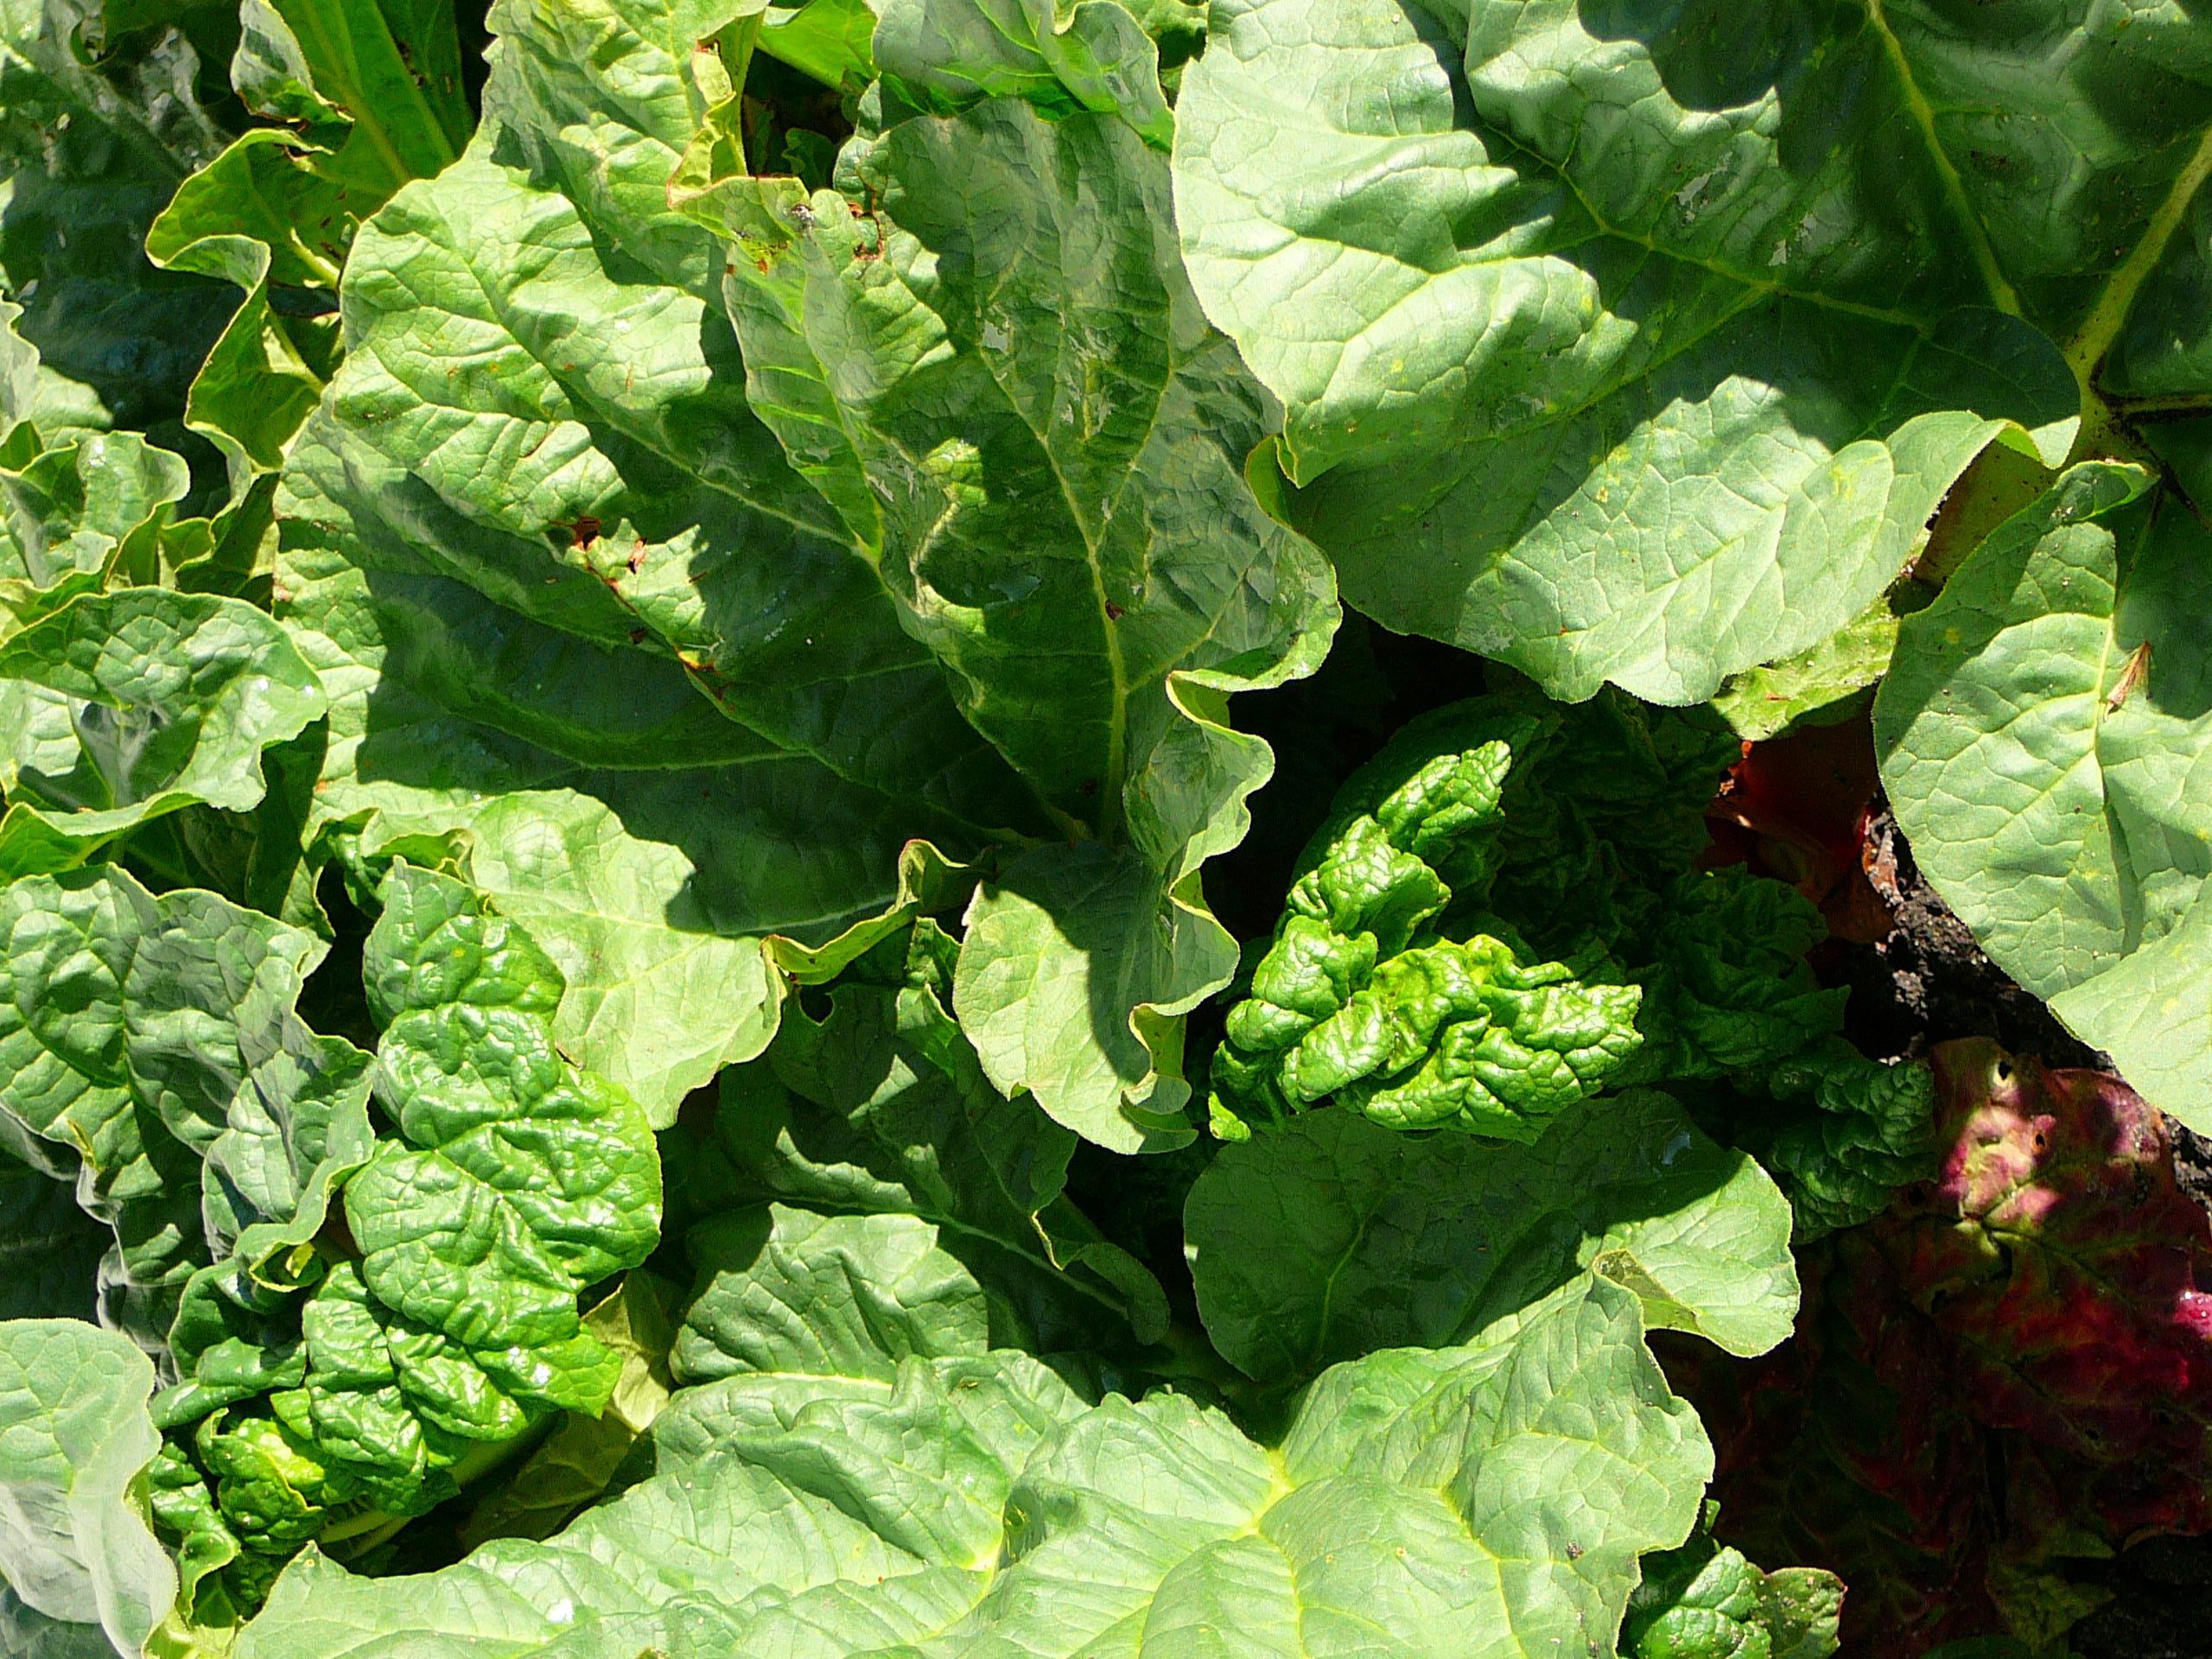
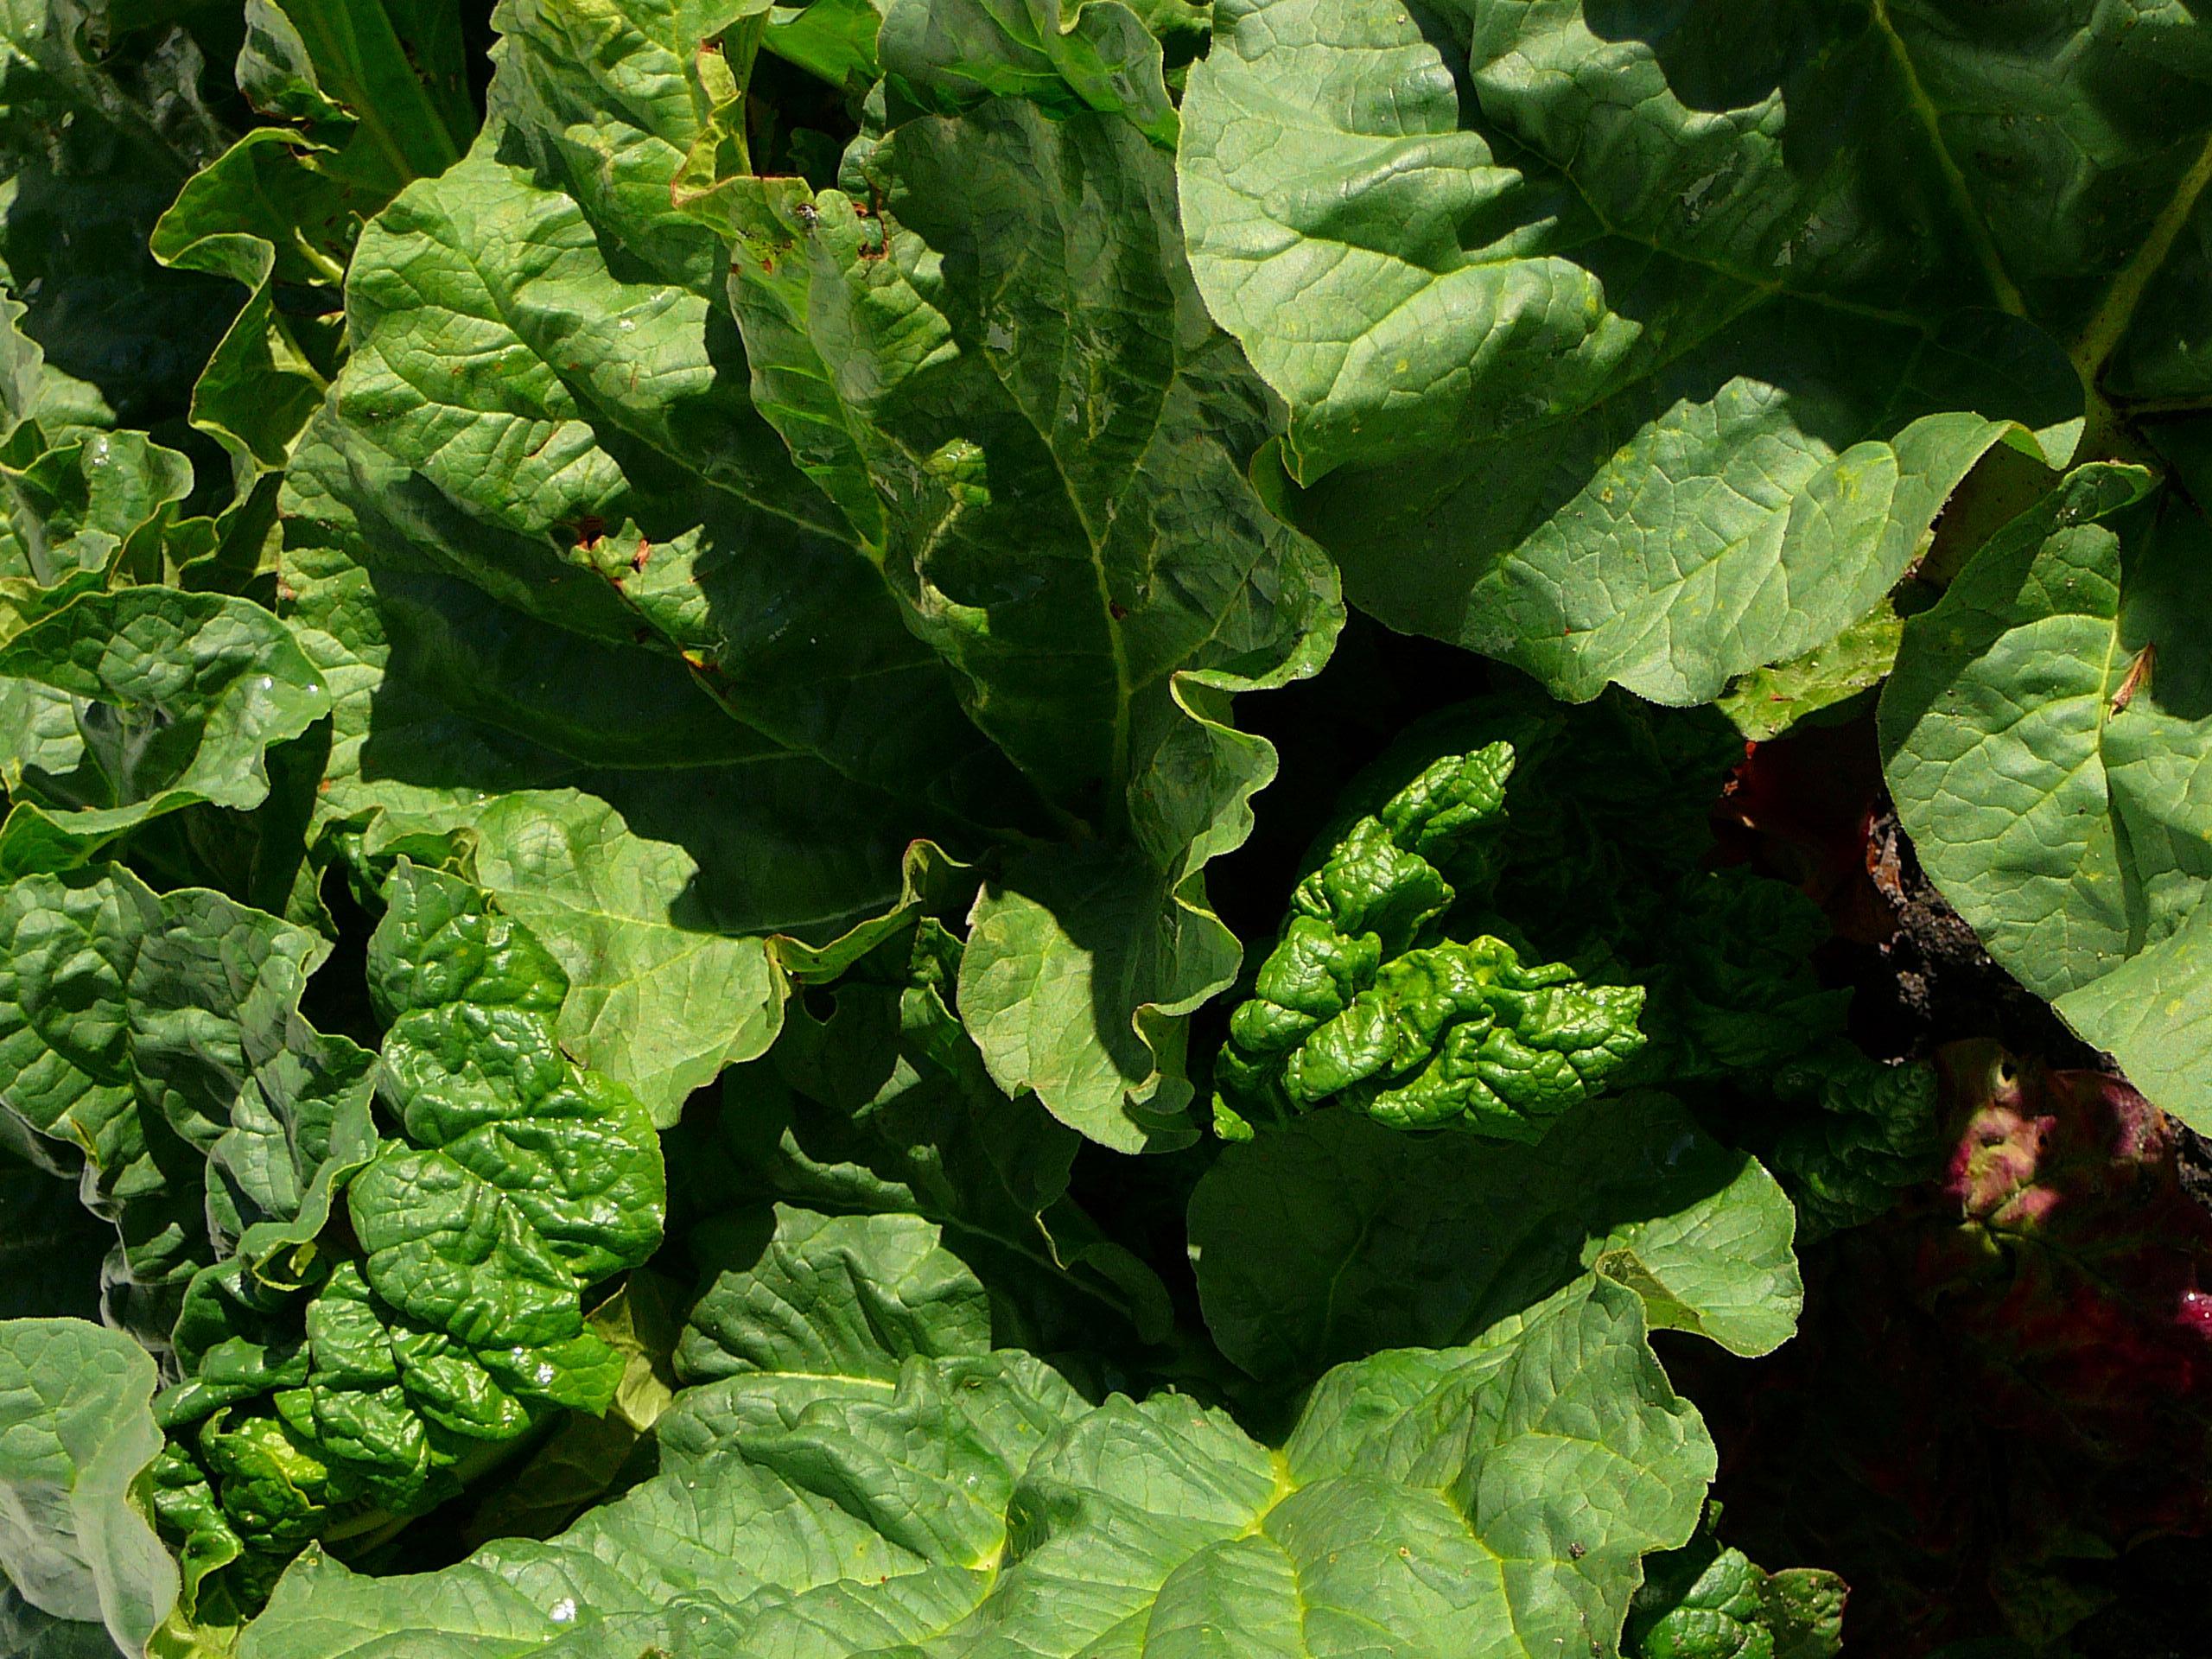
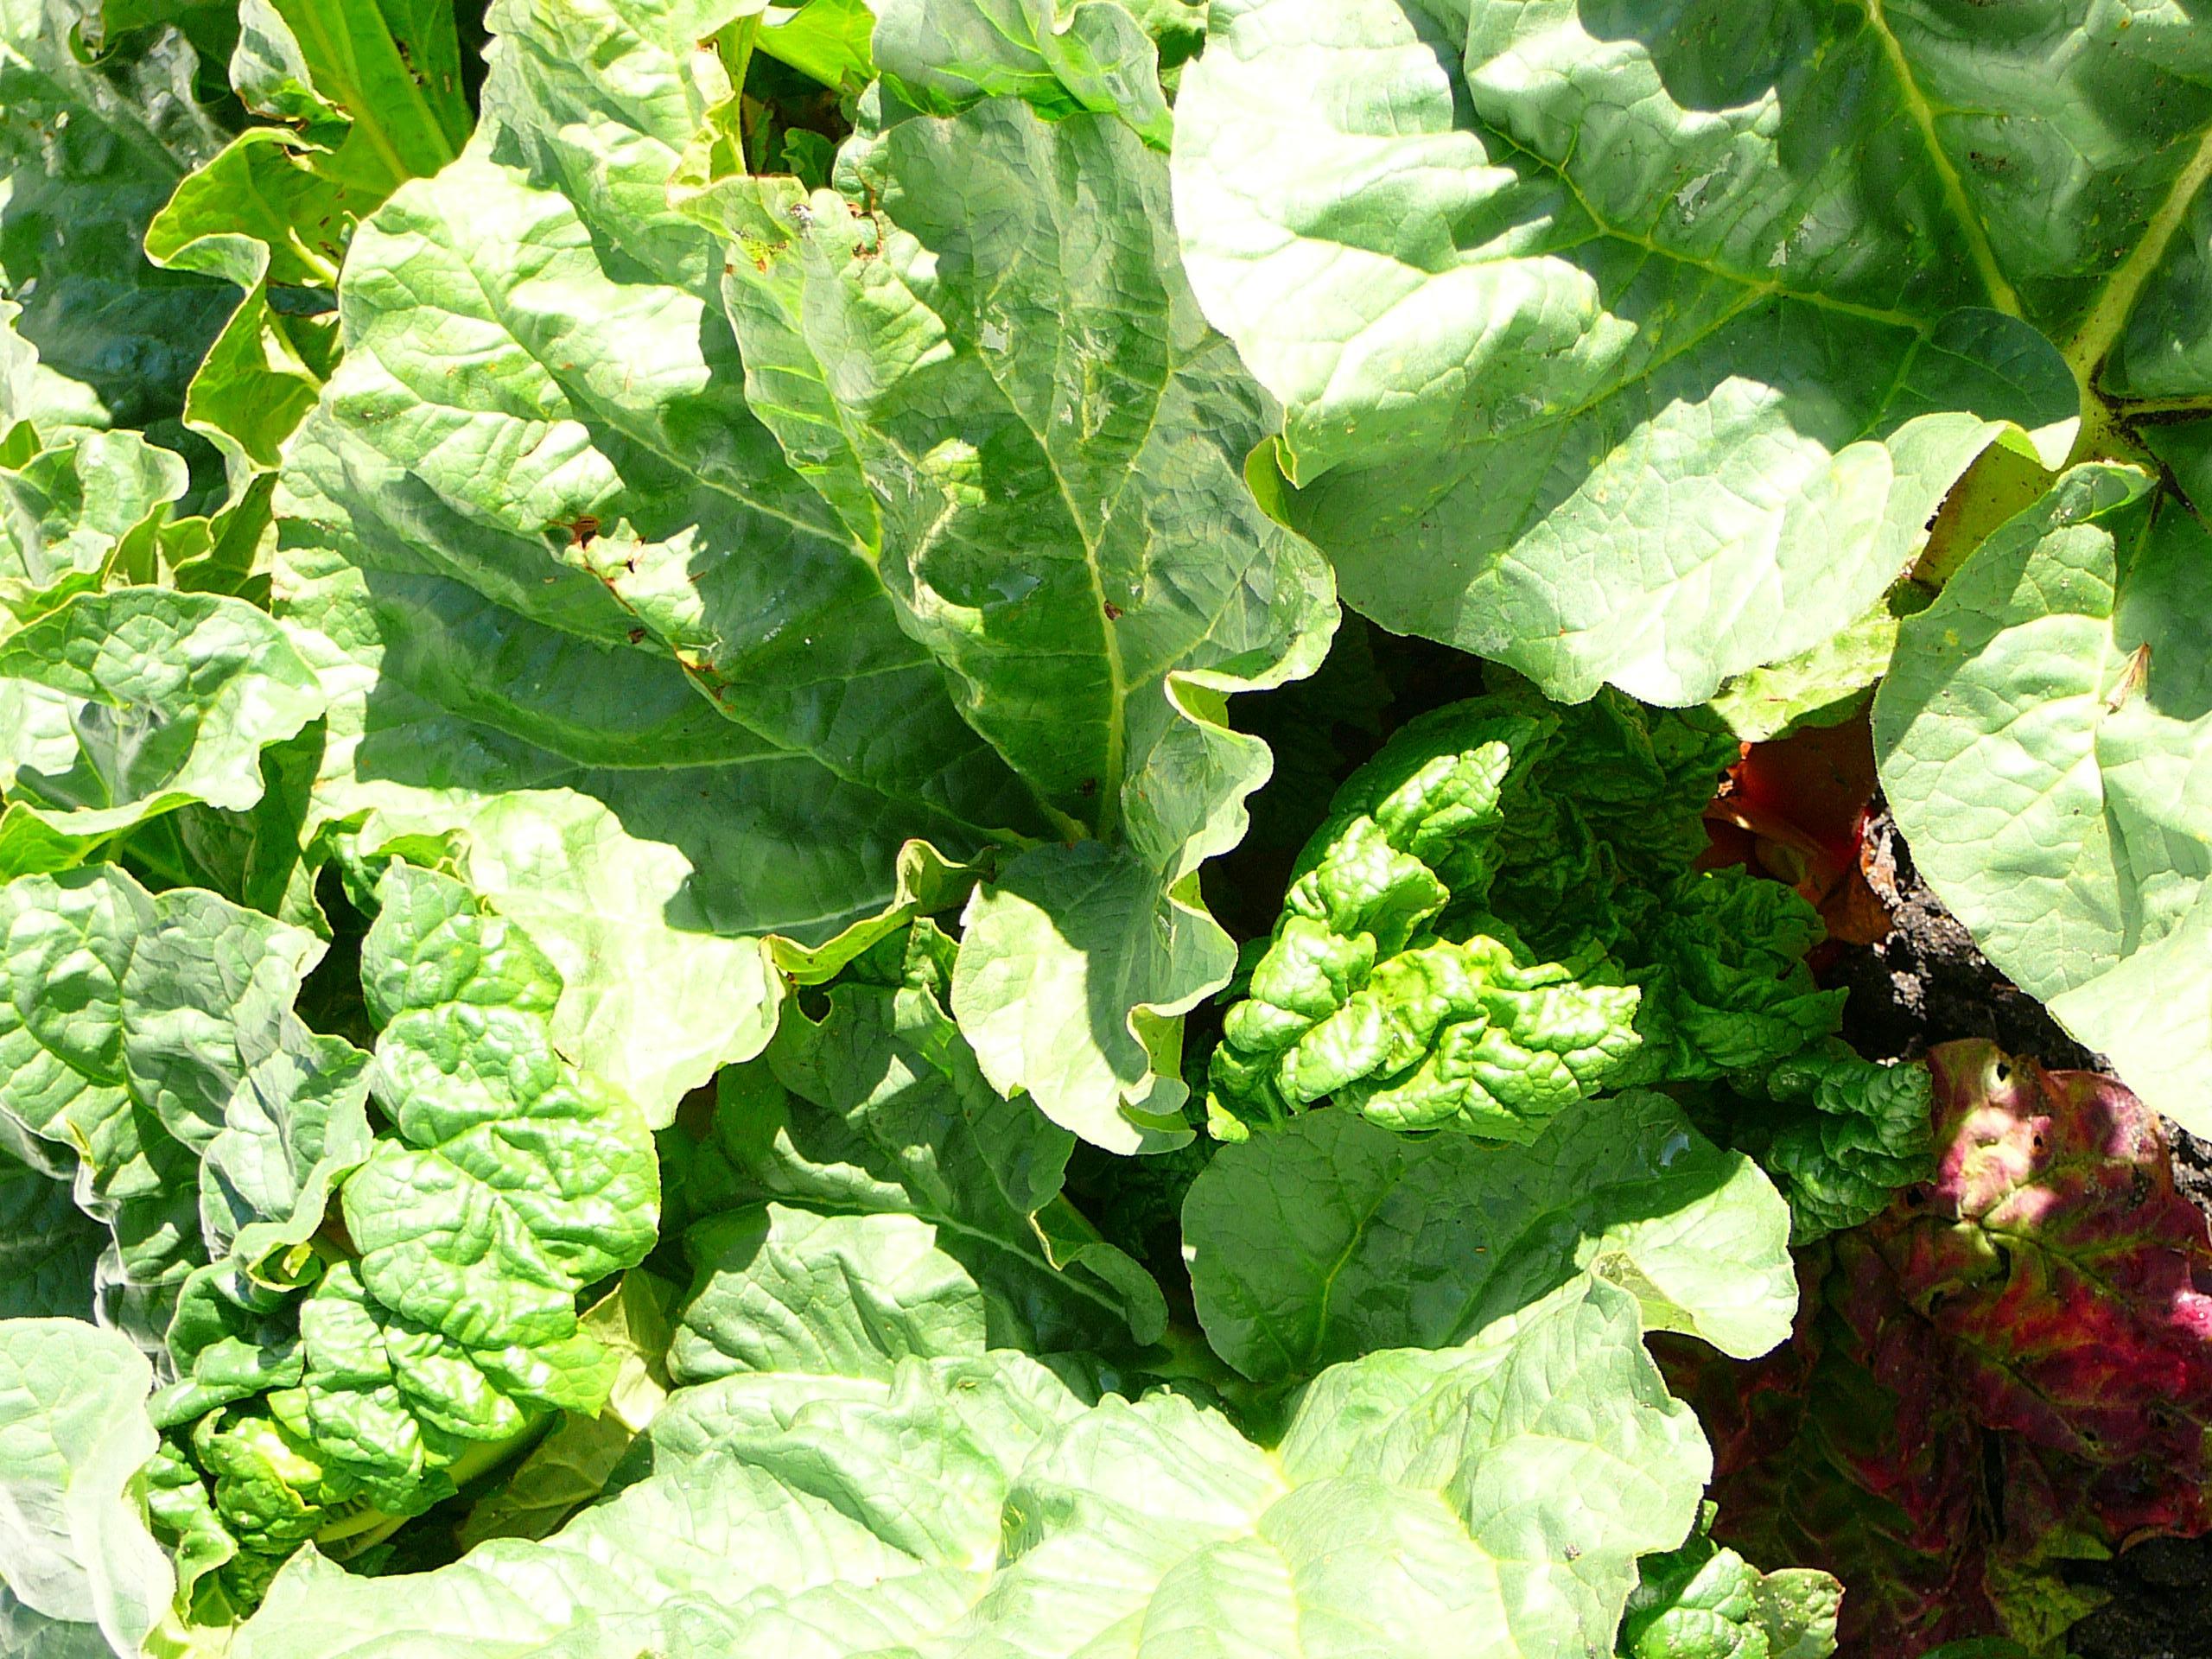
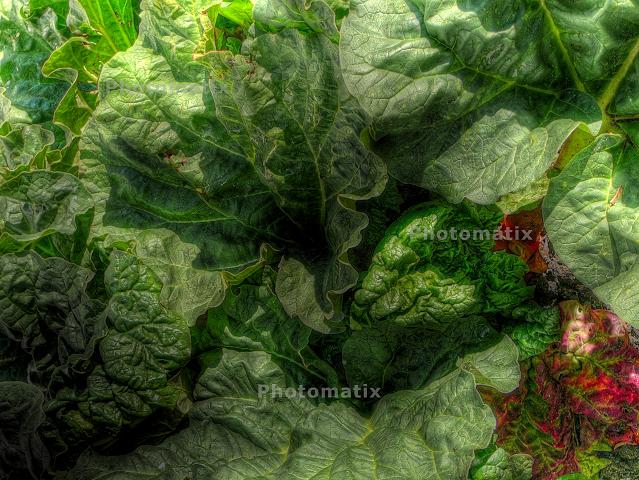
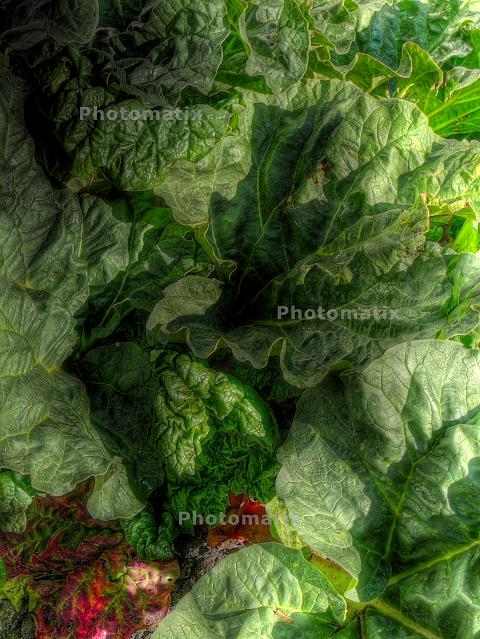
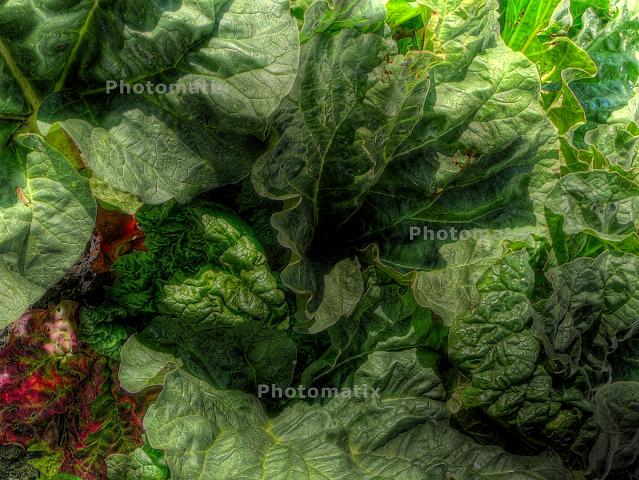
Run your sets through Photomatix and try to adjust the settings to look similar to the one you made earlier. Afterwards you should end up with three photos that look like this;


Feel free to use each of these images if you're having some trouble. Many of you should understand the main concept here. Each of the watermarks will now be in different spots. One set of watermarks will be normal, another will be vertical, and the last should be backwards. This will set each of them in their own locations which means we can then layer them all together and erase the top layers watermark, seeings how the watermark on the picture behind it is in a different spot, you can then see how you're getting away with this.
Remove the Watermark
Open up Photoshop or your prefered image editing software and import the three images you ran through Photomatix earlier. You should have one that's similar to your original file(s) but with the effects and watermark on it. The next image should be one that's rotated with the effects/watermark, make sure to rotate this picture back to portrait. (You should have vertical watermarks) Lastly you should have your horizontally flipped image, flip that one back too. (The text will now be backwards) See what you've done? You've created a mesh of watermarks that are all in their own spots, yes some intersect but you're still able to pull this off if you layer your images correctly. Take all three of your HDR pictures and put them ontop of eachother. Select the picture that's on the top layer then erase the "Photomatix" text. With a few simple swipes of the eraser you should be set!
Note;
If don't own Photoshop and would like to try it out, Photoshop CS3 should still have its beta available for you to download. If you're a student and know how expensive it is retail, check your campus bookstore for a significant student discount.
Final words/Disclaimer
I hope this tutorial has turned more of you onto HDR photos and creating these amazing effects on your own without fear of knowing how to do it or being restricted by software you can't use. Hell, more people may find this interesting and download Photomatix, try it out, then decide to buy it! I'm no way affiliated with Photomatix or anyone in the company, although I would like to hear from one of their programmers. (Probably slapping him/herself in the forehead for this one) As I stated earlier, I don't condone to stealing or abusing demo software, if you find yourself using this quite a bit and enjoy the results hit up their site and buy it! Otherwise look into other methods of recreating the same effect, Photomatix isn't the only program on the market! It's a free country, do what you can and wish with the information that's given to you. If you'd like to see more HDR photos, check out the HDR category in the Photos section! Props to CamStudio and Photomatix.

